Why a Headshot Does Not Always Refill EMP
The headshot counter can rise while EMP stays unchanged. Charge arrives from kills, so a strong hit on a surviving enemy does not refill the meter yet.
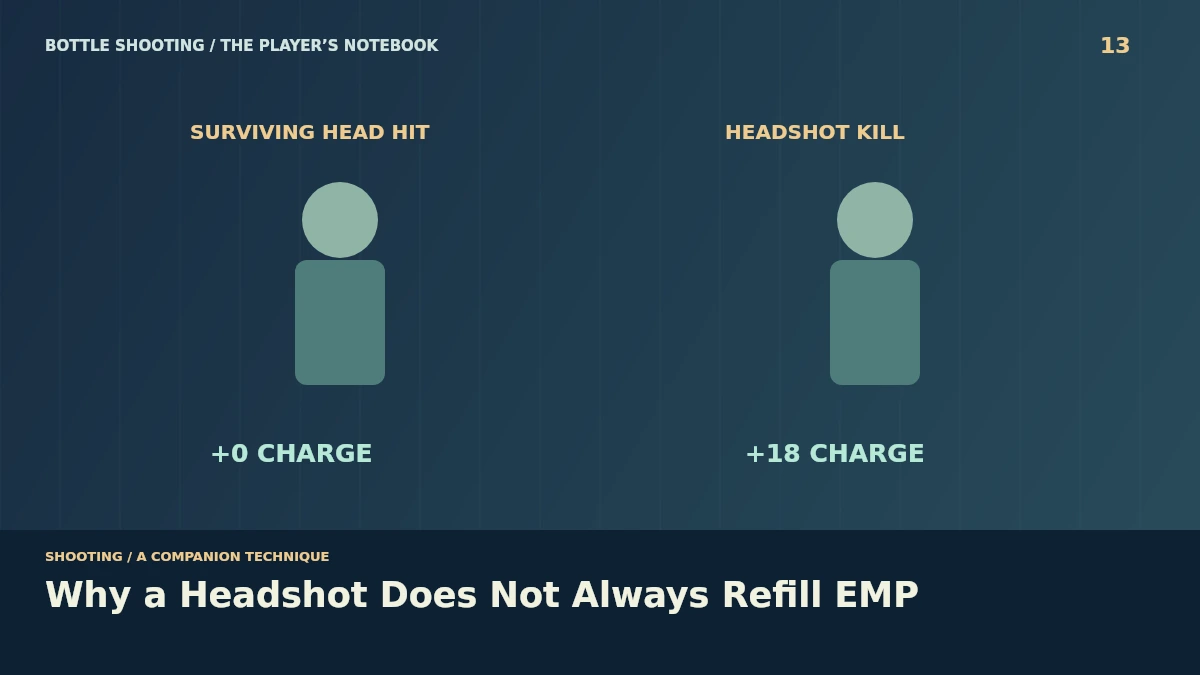
A brute survives the first pistol headshot. In Zombie Shooting, that hit can increase the displayed headshot count without adding EMP charge, because the charge reward belongs to the kill event.
A headshot kill adds eighteen charge
Other kills add eleven instead. The meter caps at 100, so you can predict the next refill from how enemies die rather than counting every shot that happens to land near a head.
Consider a six-health brute before power upgrades. A base pistol headshot deals three damage, leaving it alive after the first contact; the finishing headshot supplies the kill and its eighteen-point charge gain.
The finishing zone determines that reward. If an earlier head hit leaves the enemy weak but a body shot removes its remaining health, the game treats the final event as a non-headshot kill for charge.
The cap does not store a second burst
A full meter enables one EMP use. Extra charge earned while it sits at 100 does not accumulate in a hidden second bar, so check whether the active crowd gives you a reason to spend the available burst.
EMP applies three damage to enemies present at activation. It can kill weakened targets and slow survivors for 3.5 seconds, but its own kills do not leave the ability refilled for another immediate use.
The code clears charge after the burst resolves. That prevents a crowded activation from paying for itself through its kill events, making the next refill depend on enemies you stop afterward with your weapons.
Headshot count and charge answer different questions
The headshot total records successful head contacts. It can therefore rise several times against an enemy with a large health pool before that enemy's eventual death supplies any charge to the meter.
Use both numbers when reviewing a wave. A high headshot count with slow charge growth can reflect durable targets that remain alive, rather than proving that the meter failed to register the shots you landed.
Check the finishing damage before switching targets. Spreading head hits across several surviving enemies may leave more bodies advancing, while removing one nearby threat can add charge and reduce the pressure at the shelter together.
Spend the refill on a useful window
A full meter is a timing option. If the crowd is closing while your magazine runs low, the burst's damage and slowdown can create room for a refill without pretending that the enemies stop moving altogether.
Future arrivals share only the remaining slowdown. They do not receive the activation's earlier three-damage hit, so keep watching new enemies after the visible pulse instead of treating the street as cleared for its whole duration.
Read the reload-window guide for that defensive gap, or compare another way a counter can change without a missed shot. Find the shelter in the shooting category, with more games on the Bottle Shooting homepage.