Planning Around Gold Bottles in Bottle Smash
A gold bottle returns one stone when it breaks. Whether that helps depends on the ammunition you spend reaching it and the work still waiting afterward.
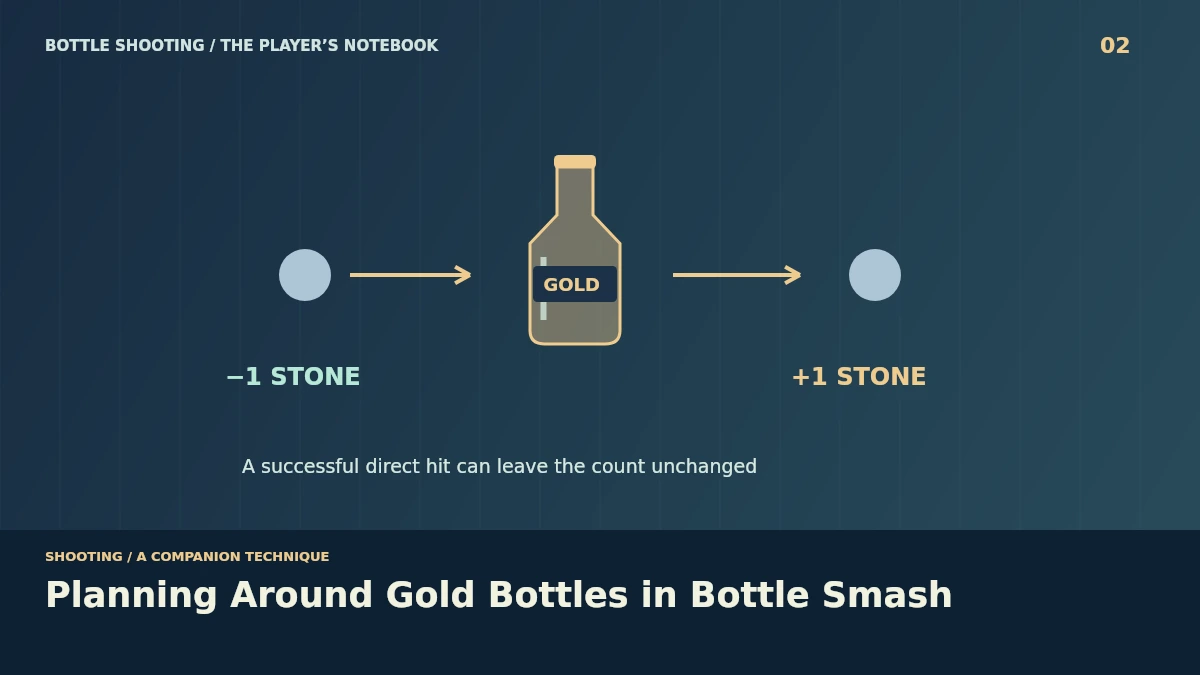
Count the returned stone separately from the score
Gold earns 180 base points when shattered. In Bottle Smash, it also adds one stone to your supply, which can keep a route affordable after you spend your starting materials.
The reward arrives after the break. A throw that misses gold gives no replacement stone, so consider whether the bottle has a clear lane before using your last light projectile to chase it.
Try the simple one-stone case first. Spending a stone to shatter reachable gold and receiving one back leaves the stone count unchanged, while removing a required bottle and adding its points to your score.
A brick changes the ammunition trade
The returned item remains a stone. If you spend a brick on a lone gold bottle, you exchange one of the limited piercing projectiles for a stone rather than replenishing the same material you launched.
That exchange can still have a purpose. A brick route might pass through gold and another bottle, removing two targets while returning a stone for a different shelf that needs a ground rebound later.
Check the objects before gold as well. Destroying a crate consumes a brick contact, so a proposed combination needs enough remaining travel and contact allowance to reach the bottles that make the exchange worthwhile.
Save enough damage for reinforced glass
A banded blue bottle needs two damage. One brick supplies that in one impact, whereas two stones require separate contacts, making the remaining reinforced targets relevant before you trade a brick for gold's extra stone.
Imagine one banded bottle and one gold remain. If a stone can reach gold directly, clearing it first can preserve the brick for the two-damage target without reducing the available stone count.
Reverse the order when the lane demands it. A crate or awkward shelf may make gold expensive to reach, so the mere presence of a refill should not override the geometry of the remaining terrace.
Compare a safe finish with a longer refill route
Unused materials add a completion bonus. Each stone or brick left after the terrace clears contributes 40 points, so include both the refill and the throw needed to obtain it when comparing possible finishes.
Stars use a different measure. Extra setup throws can push the attempt beyond a star threshold even if gold improves the score, which makes your chosen goal relevant to the route you want to practice.
Use the brick lineup guide to judge multi-contact value, or diagnose a blocked lane with the preview endpoint notes. Find the terrace game in the shooting games category and return to the Bottle Shooting homepage for the rest of the arcade.